
Medford Wood Flooring handles hardwood floor installation for homes in Medford, MA, and we are serving surrounding cities including Somerville, Malden, Winchester, Arlington and Everett. With more than 20 years on wood floors, we install solid and engineered hardwood over subfloors that are often older, less level and more varied than anything a product brochure imagines.
The boards are the part everyone sees, but the result depends on what happens first. We check the subfloor for flatness, squeaks and damage, read the moisture in both the subfloor and the new wood, and plan the layout so rows run straight through doorways and end cleanly at the walls. That preparation is the difference between a floor that stays tight and one that gaps or squeaks within a year.
Most of our installations replace carpet, extend an existing floor into a new space or put wood back into a kitchen or a finished lower level. We install in occupied homes as well as empty ones, and we plan the order of rooms so the household keeps a way through the house while the work goes on.
Choosing the Right Hardwood for Each Room
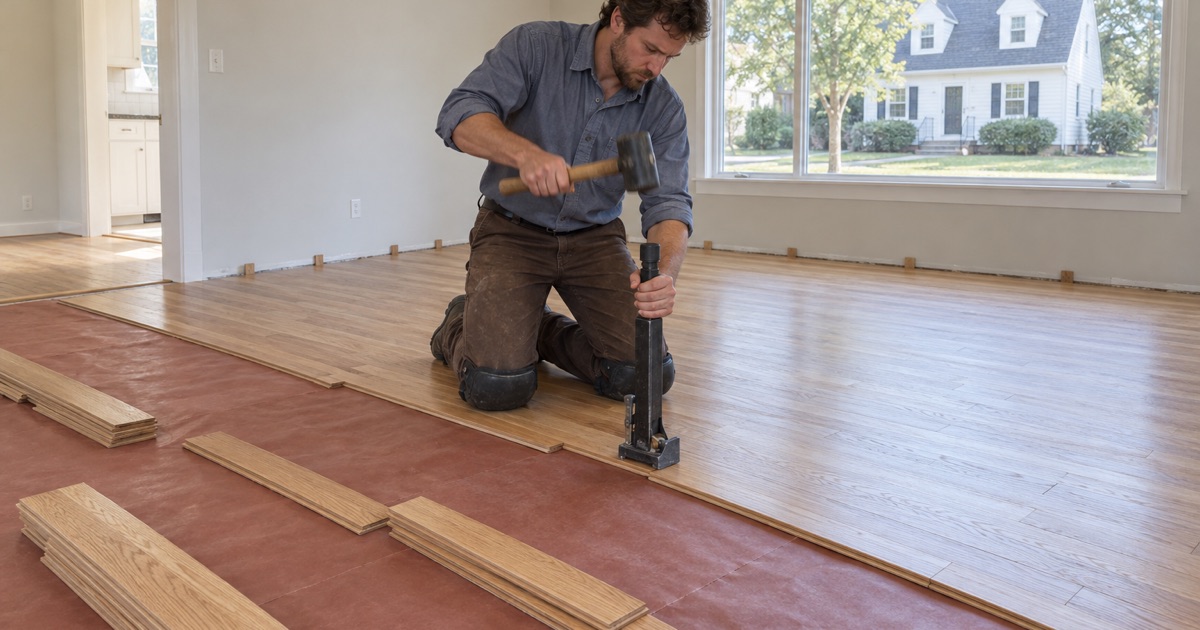
Solid Hardwood Strip and Plank
Solid hardwood is a single piece of wood from top to bottom, milled with a tongue and groove and nailed to a wood subfloor. It can be sanded and refinished many times over its life, which is why the original floors in older houses are still here to refinish.
Narrow strip, the classic width in older New England houses, moves less with the seasons than wide plank. Wider solid boards look more open and modern, but they need tighter moisture control and more careful fastening to stay flat through a heating season.
Red Oak, White Oak, Maple and Hickory
Red oak has a warm, pinkish tone and open grain, and it matches most existing floors in older houses. White oak is slightly harder, takes gray and brown stains cleanly and has become the common choice for new floors, especially in rift and quartersawn cuts that move less.
Maple is hard and pale but blotchy under stain, so it is usually left natural. Hickory sits near the top of the Janka hardness scale for domestic species and has strong color variation from board to board, which some people love and others find busy.
Prefinished Versus Site-Finished Wood
Prefinished boards come from the factory already stained and coated, so the room is usable almost as soon as the last row is down. The small beveled edges on most prefinished boards hide slight height differences between boards, which helps on an imperfect subfloor.
Site-finished wood is installed raw, then sanded flat and finished in place, which gives a smooth, seamless surface and any stain color you want. It is also the only way to match a new room seamlessly to an existing site-finished floor next door.
Getting the Subfloor Right in Older Houses
Board Subfloors and Flatness
Many older homes have subfloors made of diagonal or straight boards rather than plywood, and those boards may be cupped, loose or patched. We refasten loose sections, plane or fill high and low spots, and add plywood where the existing subfloor cannot hold fasteners properly.
A new hardwood floor follows the subfloor beneath it. Skipping this step is how a new floor ends up with humps, hollow spots or squeaks that no amount of finishing can fix.
Moisture Readings and Acclimation
Wood takes on and gives off moisture until it matches its surroundings. We read the subfloor and the new boards with a moisture meter and compare them against the manufacturer’s range before a single board is fastened.
New wood installed too wet shrinks and gaps in the first winter, and wood installed too dry can swell and cup when the humidity returns. Waiting a few extra days for the numbers to line up costs far less than a floor that moves all year.
Vapor Retarders and Radiant Heat
Over a wood subfloor we lay a vapor retarder paper before the boards go down, and over a basement or crawl area we look at what is happening below as well. The retarder slows moisture movement from below without trapping it in the floor.
Radiant heat changes the choice. An asphalt or bitumen retarder is the wrong material over radiant heat, and the wood itself should be a species and construction the manufacturer approves for heated floors, which usually points toward engineered rather than solid.
Our Step-by-Step Hardwood Floor Installation Process
Step 1: Measure, Inspect and Plan
We measure every room, check the subfloor and the height of adjoining floors, and note where the new floor meets tile, stairs and doorways. From that visit you get a written scope with the species, width, installation method and transitions spelled out, so everyone is working from the same plan.
This is also when we check the build year and any painted trim or thresholds that will be disturbed, since Massachusetts applies its own lead-safe renovation rules to homes built before 1978. Knowing that up front keeps the schedule honest and avoids a stop halfway through demolition.
Step 2: Remove, Repair and Prepare
Old carpet, tack strip, pad or damaged flooring comes out, and the subfloor is repaired, flattened and cleaned. Quarter round or baseboard is removed where needed, doors are checked for clearance, and the vapor retarder goes down.
The new boards are brought into the house and opened as the manufacturer directs, and we take moisture readings of both the wood and the subfloor. Installation starts only when the two are within the range the product calls for.
Step 3: Layout and Installation
We snap a straight starting line off the longest wall, not the nearest one, and rack out boards from several boxes so color and length are mixed. Boards are fastened with flooring cleats or staples as the manufacturer specifies, following the NWFA Installation Guidelines for spacing and the expansion gap at the walls.
We keep end joints well apart from row to row so no seams line up, and we undercut door casings so the boards slide beneath them instead of being scribed around the trim. Short offcuts go into closets and under furniture, not in the middle of the room.
Step 4: Transitions, Trim and Finish
Reducers, thresholds and stair nosing are fitted where the new floor meets other surfaces, and the trim goes back over the expansion gap. A site-finished floor is then sanded, stained if you chose a color, and finished; a prefinished floor gets a final clean and a walk-through with you.
Before we leave, we go over humidity in the heating season, felt pads for furniture and the cleaners that are safe for the finish. A floor that is looked after that way stays tight and needs nothing more than an occasional screen and recoat for years.
Installing Hardwood in Condos, Additions and Open Plans
Condo Units and Sound Underlayment
Massachusetts condominium law, M.G.L. c.183A, allows an association’s by-laws to regulate how units are maintained, and many associations use that power to require sound underlayment under hard floors. We ask for the rules before quoting and install to them, choosing the underlayment and fastening method that the association’s requirements allow.
Condo work also means planning around shared spaces. We protect hallways and elevators, keep to the building’s permitted work hours and coordinate deliveries with the manager, so the neighbors see as little of the job as possible.
Weaving New Wood Into an Existing Floor
When a wall comes down or an addition opens onto an existing room, the new boards should run in the same direction as the old and be woven into them. We match species and width, weave the rows together instead of ending them at a strip, and sand and finish the whole area together so the old and new floors read as one.
Where the existing floor is an older red oak strip, new red oak of the same width usually blends well once both are sanded. Where the old floor has ambered under an oil finish, the color match comes from the finish as much as the wood, and we test it on samples before committing the whole room.
- 20+ Years in Wood Flooring
- Stairs Priced by the Tread
- Moisture Readings Before Repairs